


Nhen I think of soap moulding, I think back to my youth in the 90s, when making your own soap was a pretty big craze. We collected small decorative soaps and swapped them with each other to get as many different types and scents as possible. And woe to the father who accidentally used some of the fine soaps in the collection, so that the seashell or the pink heart got completely out of shape and had to be discarded.
It was so popular that we even did it at school during craft lessons - so important a skill the teachers must have thought it was! When I recently inherited a school kit from the 90s with soap blocks and moulds, I thought it must be time to give soap moulding a revival. To rethink the expressions and breathe life into the classics. Because beautiful soaps that smell good - that's what every home needs. Even today in 2018.
[lepopup slug='optin-diy-recipes']Get creative with soap fertiliser
Making soap is an easy way to be creative. You can experiment with different colours, shapes and decorations.
Below are my suggestions for different methods of decoration that make a big impact.
With raw soap or soap paste, you can quickly and easily make soap for you, your family and for cosy and personalised host/hostess gifts.
You can buy soap putty in most hobby shops. It is available in both transparent and non-transparent versions.
There's a big difference in what soaps are made of, so if you have allergies, it's a good idea to check the ingredient list.
I'm working here with a transparent version called "melt-and-pour" and a non-transparent version that is real olive pulp and has a turquoise green colour.
This is what you need:
- Soap paste/raw soap
- Fruit colour
- Various essential oils
- Moulds (available in hobby shops and supermarkets)
- Materials for decorations (I used stamps and collected herbs and leaves from nature)

Before you start soap moulding
When making your own soap, it's important to have a good overview from the start.
A little tip from here is to start by laying out all your herbs, leaves, stamps and the like on the table, place scented oils and fruit colouring and get your moulds ready, possibly on coasters or with other coasters underneath so that you don't spill the hot soap directly onto the table.
This way you can get off to a good start and play around with putting all your things together along the way.
Prepare the soap paste by cutting it into smaller pieces. This way it will melt more easily when heated.
The amount of soap paste depends on the size of your moulds. You can weigh your soap paste so you know exactly how much to use, but I just did it by eye and it worked out fine.
You can always reuse leftovers later. The same goes for colour and scent: experiment and find a balance that works for you.
How to make homemade soap
- Make a water bath by bringing a pot of water to the boil. You can place a metal bowl or similar over it to better control the temperature of the soap. Set the stove to slightly above medium heat.
- Add your small pieces of soap paste and let them melt together. Do not let it boil. Avoid stirring too much, as this can cause bubbles to form in the soap.
- While the soap melts, add the fruit colouring and the essential oils. Mix them up to personalise the scents or stick to the clean scents you love.
- When the mixture is completely melted, small air bubbles or impurities may form on the surface. Use a knife or spoon to remove these if necessary.
- Pour the mixture into your moulds and let them cool in the fridge. After a few hours, you can gently squeeze them out and your beautiful soaps are ready to use.

Decorate your soaps for a beautiful and personalised look
There are many fun ways to decorate your soaps to give them exactly the look you want. I've listed some different options below that worked well for me:
Match fragrance and decoration
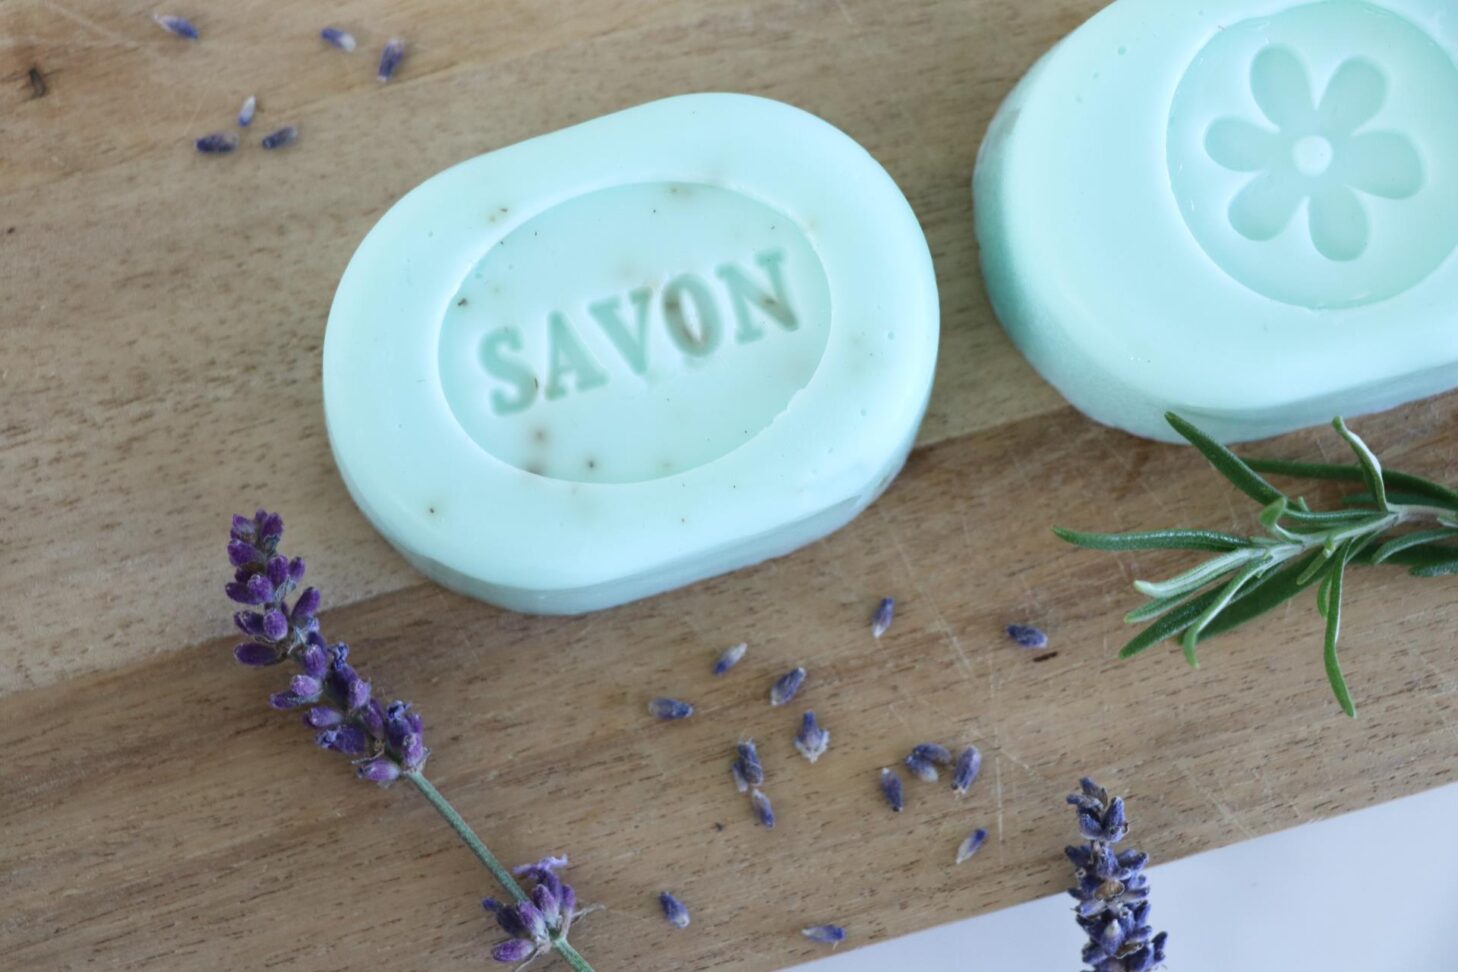
My two favourite scents are rosemary and lavenderso I wanted to make a soap with each of these scents with accompanying decoration from plants.
I happen to have both rosemary and lavender in my garden (or maybe it's not so coincidental after all!), and here I picked a few sprigs of each. By placing them in the moulds before pouring the soap over them, they become encased in the soap as a beautiful decoration.
It also enhances the scents in the soap. For these, I used the non-transparent olive soap paste.

Stamp print on the soap
On the opposite side of the soaps described above, I have made stamp prints.
Here's how to do it: Place the stamp pad in the bottom of the mould with the printed side facing up.
Pour over the soap and once it has hardened, the soap can be turned out of the mould and the plunger pad removed.
Trim the edges to remove excess soap.
Two-colour soap
Two-colour soap is easy enough, but to create the slanted line between the colours, here's how to do it:
First, make one of the soaps as previously described. Place your mould in a slanted position by placing something under one side (see image).
The height should be just right so that the line runs diagonally through the soap.
You can test by pouring water into the mould and seeing where the line goes. Pour in soap mixture to cover half of the mould and let this side set completely - preferably in the fridge.
Then mix your second colour, for which you can also choose a different scent. I have given my pages different scents.
Here, the mould should stand normally on the worktop and you can pour and cover the line you made before.

Encapsulate beautiful things from nature
Take a nice walk and collect the most beautiful things you find along the way. Put them in the bottom of your soap mould. Choose a clear soap paste for this.
As essential oils are often slightly yellowish, I tried to counteract this by mixing in a hint of blue colour.
The items will float to the top, so it can be an advantage not to make these soaps too thick. I'm particularly fond of the soap with the cornflower inside.
Mine smells like a mix between, Ylang Ylang, Bergamot and Peppermint.

Small soaps with cute shapes
You can also choose to pour your soaps into silicone moulds that you would normally use for baking or ice cube containers.
They are easy to squeeze out of the silicone and you may already have the mould in stock. This way you can quickly make a lot of soaps if you need them for a children's birthday party or similar.
You can make red hearts, little smiley faces or teddy bears. You can buy these moulds in supermarkets, hardware stores or hobby shops.
[lepopup slug='optin-diy-recipes']Want to start making your own soaps?
Now my soaps are beautifully decorated in the bathroom and nostalgically take me back to my childhood.
Meanwhile, the scent of my favourite essential oils.
The difference is that I now look forward to using them, so I have an excuse to make more. So something has changed over time, which is nice.
Enjoy making your own soap.

Marie Terese Duhn
Chleopatra Author
Marie Terese Duhn has been a blogger and photographer at Chleopatra between 2018 and 2019, giving you updates on what's happening in the wonderful world of Chleopatra. Marie inspired you with creative DIY projects that all had in common that they were based on Chleopatra's products and gave you tips on how to utilise the full potential of the products. Marie no longer writes for Chleopatra, but instead she runs her own creative universe on www.byduhn.com


Hi there! How do you make them transparent? As the glycerine I find often looks a bit cloudy :O
Hi Amelie,
It is possible to buy a transparent version. Just search on google for "glycerin transparent" :)